Three years ago, a fierce hurricane swept through my coastal town. Power lines fell, stores closed, and we were cut off for days. I scrambled to gather supplies, but my flashlight had dead batteries, and we had no backup water. That chaotic moment taught me the value of being prepared. Emergencies—whether hurricanes, earthquakes, or wildfires—can strike without warning. According to the Federal Emergency Management Agency (FEMA), 60% of Americans are unprepared for disasters. A DIY emergency preparedness kit can be your lifeline, offering peace of mind and practical solutions. This guide shares actionable steps to build your kit, weaving in lessons from my experience. Let’s ensure you’re ready for the unexpected. Start today, and share your tips in the comments!
Why You Need an Emergency Kit
Emergencies disrupt normal life. Power outages, flooded roads, or medical needs can leave you stranded. FEMA reports that help may take 72 hours to arrive after a disaster. A well-stocked kit ensures self-reliance during this critical window. It’s not just about survival—it’s about comfort and safety for you and your loved ones. My family learned this the hard way, huddling in the dark without a plan. Kits are customizable, affordable, and empowering. They cover essentials like food, water, and first aid, tailored to your region’s risks, like tornadoes or blizzards. Building one fosters confidence and reduces panic. Start small, but start now.
Step 1: Choose the Right Container
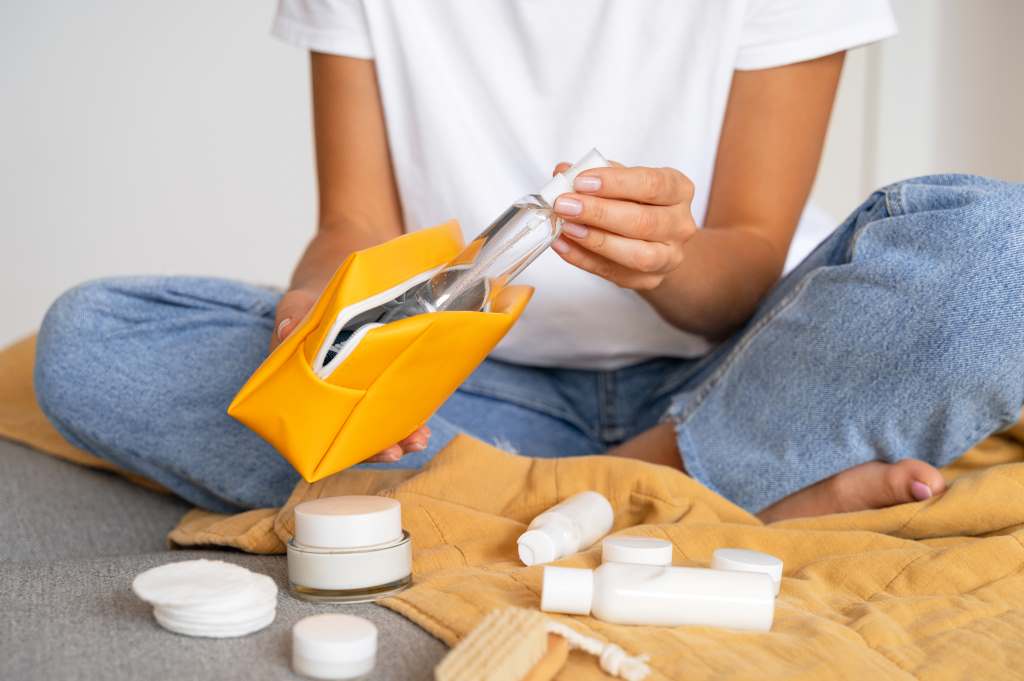
Your kit starts with a sturdy, portable container. It must protect supplies and be easy to grab in a rush. I chose a waterproof backpack after my old plastic bin cracked during a move. Backpacks are ideal for mobility, especially if you need to evacuate. Alternatively, plastic totes with secure lids work for home storage. Ensure the container is lightweight yet durable—think weather-resistant materials. Label it clearly with “Emergency Kit” for quick access. Explore Smart Home Connectivity ideas.
According to the Red Cross, your kit should be stored in a cool, dry place, like a closet or garage, away from heat sources. Check your container every six months for wear and tear. A good container keeps your supplies safe and accessible, setting the foundation for your preparedness.
- Backpack: Great for mobility, fits in car trunks.
- Plastic Tote: Ideal for home, stackable, and spacious.
- Duffle Bag: Flexible, but less protective against water.
Step 2: Stock Up on Water and Food
Water is non-negotiable. FEMA recommends one gallon per person per day for at least three days. For a family of four, that’s 12 gallons. I store bottled water and a portable filter, remembering how tap water became unsafe during the hurricane. For food, choose non-perishable items like canned goods, protein bars, or freeze-dried meals. Aim for a three-day supply, prioritizing high-calorie, low-prep options. Include a manual can opener and utensils. Check expiration dates every six months—my family once found expired tuna in our kit! If you have pets or infants, add their food and formula. The CDC advises storing food in airtight containers to prevent pests. These essentials keep you nourished and hydrated when resources are scarce.
- Water: Bottled or purification tablets for portability.
- Food: Canned beans, nuts, or dried fruit for nutrition.
- Extras: Pet food, baby formula, and a can opener.
Step 3: Build a First Aid Kit
Injuries happen during emergencies—cuts from debris or stress-induced ailments. A first aid kit is critical. My neighbor sprained her ankle fleeing floodwaters, and we had no bandages. Stock adhesive bandages, gauze, antiseptic wipes, and pain relievers. Include prescription medications for at least a week, as pharmacies may close. The Red Cross suggests adding scissors, tweezers, and a thermometer. For families, include child-friendly supplies like smaller bandages. Store everything in a waterproof pouch for easy access. Check medications biannually for expiration. A 2023 study by the American Medical Association found that 70% of households lack adequate first aid supplies. Don’t be part of that statistic. Your kit can stabilize minor injuries until help arrives.
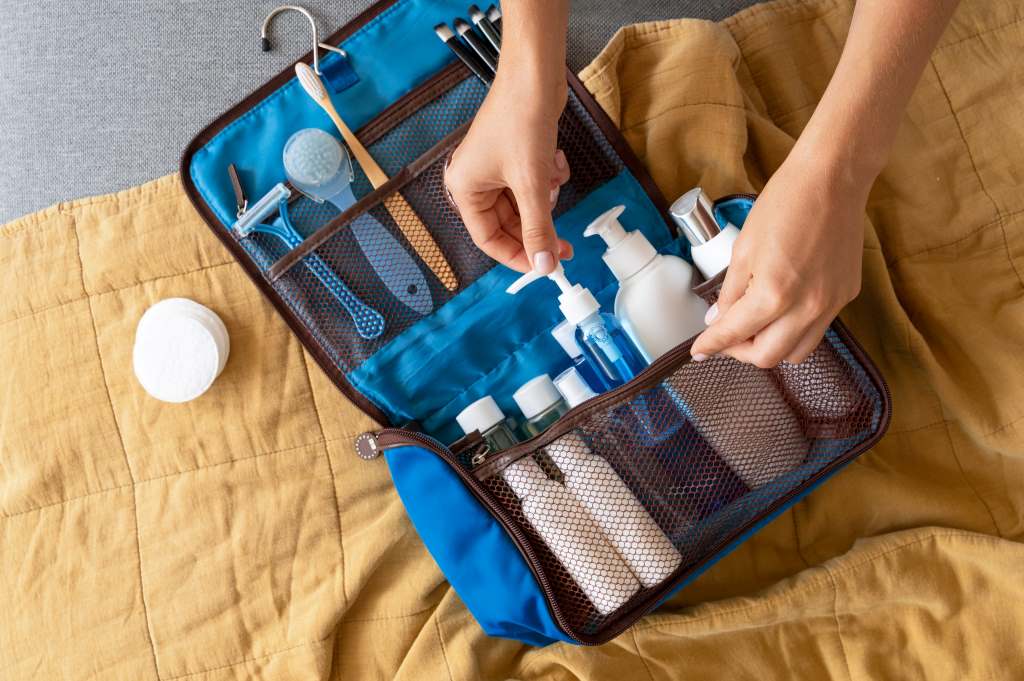
Step 4: Include Essential Tools and Gear
Tools and gear make your kit versatile. A multi-tool, flashlight, and extra batteries are must-haves. I learned this when my flashlight failed during the hurricane. Add a battery-powered or hand-crank radio for updates—NOAA weather radios are best. Include duct tape, matches in a waterproof case, and a whistle for signaling. Blankets or emergency sleeping bags keep you warm. If you live in a cold region, add hand warmers. FEMA notes that 80% of disaster-related injuries stem from inadequate shelter or tools. For evacuation, pack a local map and cash in small bills—ATMs may be down. These items ensure you can adapt to challenges, from power outages to navigation. Keep gear lightweight to avoid overloading your kit.
- Multi-tool: Combines knife, screwdriver, and more.
- Radio: Hand-crank models don’t rely on batteries.
- Blanket: Mylar emergency blankets are compact.
Step 5: Personalize Your Kit
Every household is unique. Tailor your kit to your needs—consider climate, family size, and health conditions. I added asthma inhalers for my son and diapers for my toddler. If you live in earthquake-prone areas, include sturdy shoes to protect against glass. For wildfires, add N95 masks. The CDC recommends copies of important documents like IDs, insurance policies, and medical records in a waterproof pouch. Digital backups on a USB drive are smart, too. Don’t forget comfort items—books, games, or a favorite snack can lift spirits. A 2022 FEMA survey found that personalized kits increase usage by 40%. Think about pets, elderly family members, or dietary restrictions. Personalizing makes your kit practical and reassuring, ensuring everyone’s needs are met.
Step 6: Maintain and Update Your Kit
A kit isn’t a one-and-done project. Supplies expire, needs change, and gear wears out. I neglected my kit for a year and found rusty tools and stale crackers. Check your kit every six months. Replace expired food, water, and medications. Test batteries and update documents. If you move or add a family member, adjust your supplies. FEMA advises keeping a checklist to track maintenance. Store your kit in an accessible spot and tell household members its location. Practice grabbing it during drills to build muscle memory. Regular updates keep your kit reliable, ensuring it’s ready when disaster strikes. Maintenance is a small effort for big peace of mind.
Conclusion
Building a DIY emergency preparedness kit is more than a task—it’s a commitment to your safety. My hurricane experience showed me how quickly life can turn upside down. With a sturdy container, water, food, first aid, tools, and personalized items, you’re equipped for the unexpected. Regular maintenance keeps your kit ready. According to FEMA, prepared households recover 50% faster after disasters. Don’t wait for a crisis to act. Start today, even if it’s just a backpack with water and snacks. Your future self will thank you. Share your kit-building tips in the comments or spread this guide to help others. Let’s build a safer, more prepared community together!
FAQs
What is the minimum size for an emergency kit?
A basic kit should cover three days, including one gallon of water per person daily, non-perishable food, and first aid supplies.
How much does a DIY emergency kit cost?
Costs vary, but a basic kit can be built for $50-$100 using household items and affordable supplies from stores.
Can I store my kit in a car?
Yes, but avoid extreme heat. Use a smaller, portable kit with essentials like water, food, and a flashlight.
How often should I update my kit?
Check every six months to replace expired items, test gear, and update documents or medications.
Are there kits for specific disasters?
Yes, tailor your kit for regional risks—add masks for wildfires, shoes for earthquakes, or warmers for blizzards.